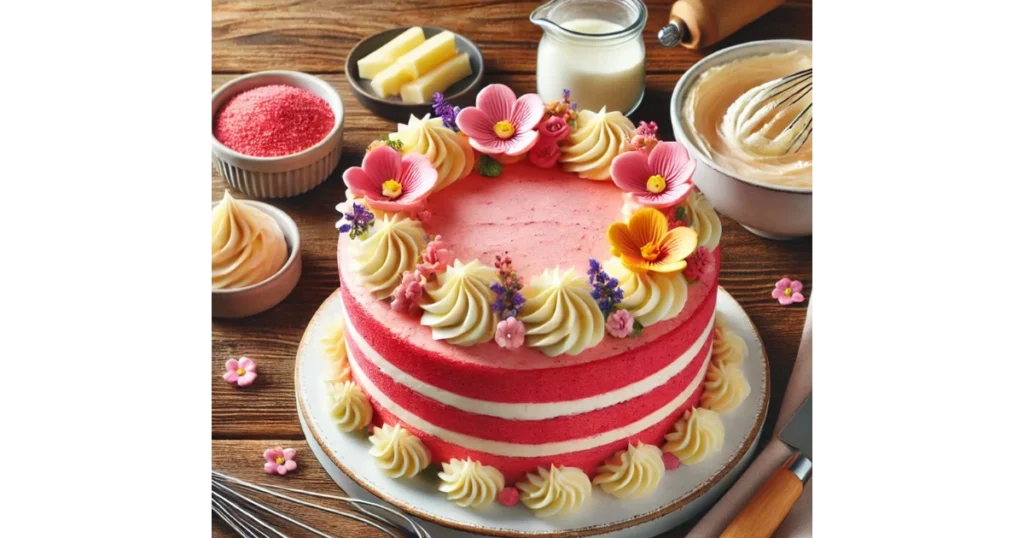
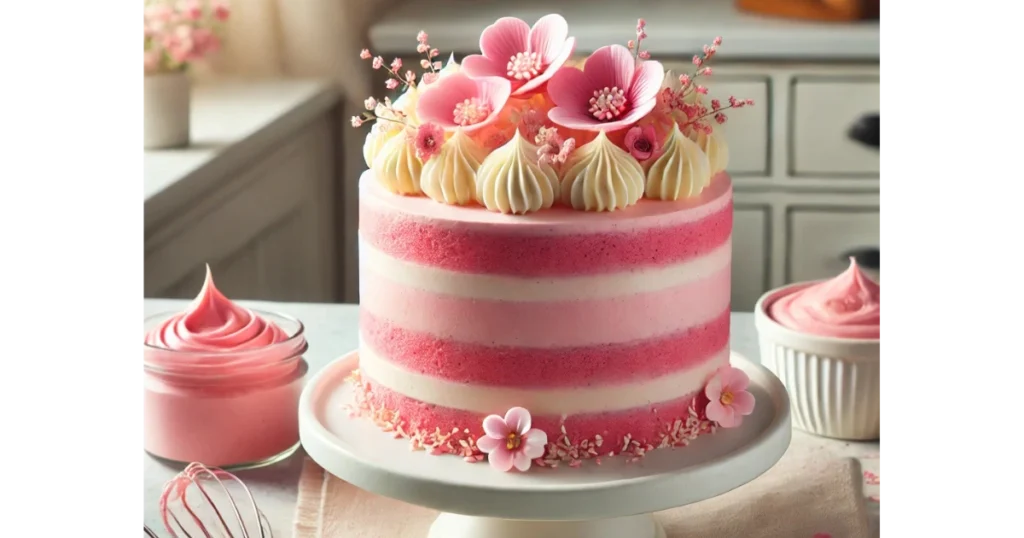
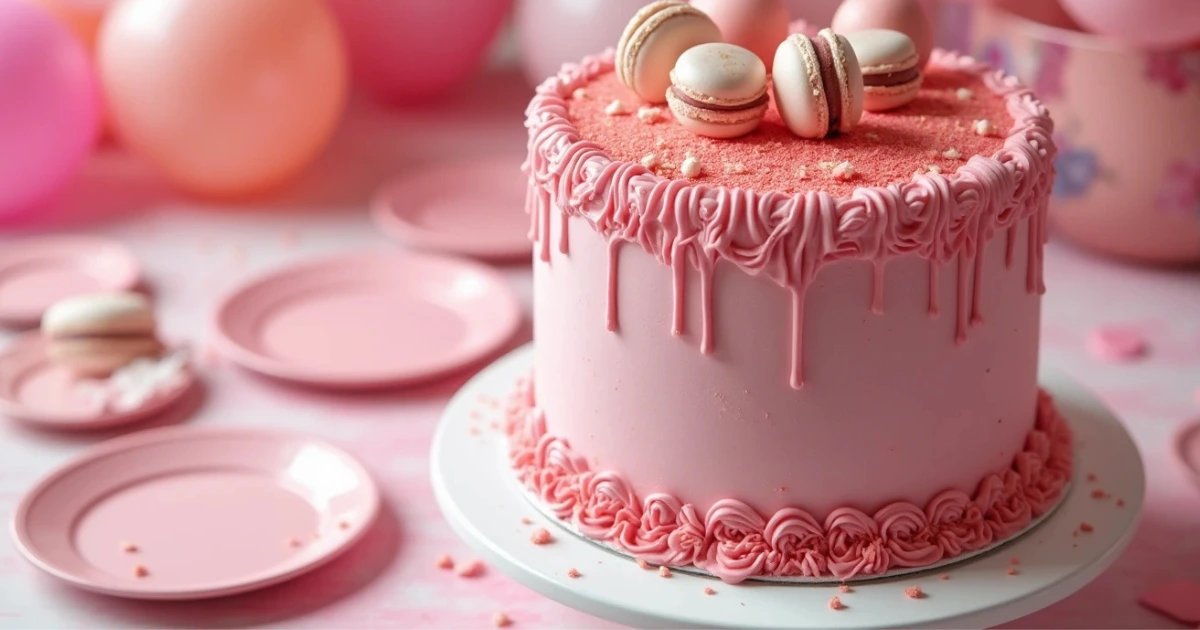
Do you remember the joy of eating pink cake at your birthday parties as a kid? That sweet, fluffy treat that made you so happy? Now, you can make that magic in your own kitchen. This guide will show you how to make a homemade pink cake that looks amazing and tastes great.
Imagine a cake so soft it feels like it’s melting in your mouth. It’s a beautiful pink color that will impress everyone. This pink cake is a special treat that combines the classic velvet cake with a modern pink twist. We’ll cover everything from picking the right ingredients to using food coloring, so your cake will be perfect and delicious.
Table of Contents
Understanding Pink Velvet Cake Basics
Pink velvet cake is a new twist on the classic red velvet recipe. It offers a unique mix of flavors and textures. This makes it stand out from red velvet.
What Makes a Pink Velvet Cake Special
Pink velvet cake is known for its soft, pastel color and light vanilla taste. Unlike red velvet, it doesn’t have cocoa powder. This lets its pink color be the star. The cake’s velvety feel comes from buttermilk, vinegar, and baking soda.
Difference Between Pink and Red Velvet
Even though both cakes are similar, they have some key differences:
| Feature | Pink Velvet Cake | Red Velvet Cake |
|---|---|---|
| Color | Soft pink | Deep red |
| Cocoa Content | None | Small amount |
| Flavor Profile | Light vanilla | Subtle chocolate |
| Food Coloring | Less required | More required |
The Science Behind the Velvet Texture
The velvet texture comes from a cool chemical reaction. Buttermilk, vinegar, and baking soda mix to create tiny bubbles. These bubbles make the cake fluffy and smooth.
“The ‘velvet’ in velvet cake refers to its smooth, luxurious texture – a true testament to the magic of baking science!”
Essential Ingredients for Pink Cake
To make a delicious pink cake, you need certain ingredients. Cake flour is the base, making the cake light and soft. Buttermilk adds moisture and a tangy taste.
For the frosting, you’ll need cream cheese, butter, and powdered sugar. Make sure all ingredients are at room temperature for the best results.
| Ingredient | Amount | Purpose |
|---|---|---|
| Cake flour | 400g | Creates light texture |
| Unsalted butter | 300g | |
| Granulated sugar | 400g | |
| Eggs | 5 | |
| Baking powder | 1 1/4 tsp | Leavening agent |
| Baking soda | 1 1/4 tsp | Enhances rise |
| Buttermilk | As needed (30 cl) | Adds moisture and flavor |
| Pink gel food coloring | 1/8 tsp | Provides pink hue |
| Vanilla | 1 tsp |
Remember, exact measurements are crucial in baking. This recipe makes 24 servings. Bake it in a 13 x 18 x 1-inch baking sheet at 350°F for 25-30 minutes. Use just 1/8 teaspoon of pink gel food coloring for the perfect pink color.
Required Tools and Equipment
To bake the perfect pink cake, you’ll need the right tools. Let’s look at the essential equipment for your baking adventure.
Baking Pans and Sizes
The foundation of your cake starts with the right pans. For a standard pink velvet cake, 8-inch round pans are best. Line them with parchment paper for easy removal.
Mixing Equipment
A stand mixer with a paddle attachment or a hand mixer is crucial. It helps achieve the perfect batter consistency. Don’t forget these other essentials:
- Large mixing bowls
- Fine mesh sifter
- Spatula
- Kitchen scale
Decorating Tools
Your cake decorating equipment is key to the final look. Here’s what you need:
- Offset spatula
- Piping bags
- Various piping tips (Wilton 1M, 4B, 6B, 104, 32)
- Cake scraper
| Tool | Purpose | Importance |
|---|---|---|
| Digital Scale | Precise ingredient measurement | High |
| Measuring Cups | Measure dry and liquid ingredients | Medium |
| Measuring Spoons | Accurate small quantity measurements | High |
| Sieve | Aerate flour, remove lumps | Medium |
| Hand/Stand Mixer | Efficient mixing and whisking | High |
With these tools, you’re ready to create a stunning pink cake masterpiece.
Preparing Your Workspace and Ingredients
To make the perfect pink cake, start by getting your workspace ready. Gather all the tools and ingredients you need. This makes the baking process smoother and avoids last-minute rushes.
Room Temperature Guidelines
It’s important to use room temperature ingredients for a light cake. Take butter, eggs, and buttermilk out of the fridge 1-2 hours before baking. This helps mix them better and results in a batter that’s smooth.
Proper Measuring Techniques
Getting your measurements right is key for consistent results. For dry ingredients like flour, use the spoon and level method. A kitchen scale can also help for exact measurements. This way, your cake will always turn out right.
Ingredient Preparation Steps
Here’s how to get your ingredients ready:
- Sift dry ingredients to remove lumps
- Grease and line cake pans with parchment paper
- Preheat oven to 350°F
- Measure wet and dry ingredients separately
By following these steps and using the right measuring techniques, you’re on your way to baking a delicious pink cake.

Mixing the Perfect Pink Cake Batter
Creating the perfect pink cake recipe begins with mastering cake batter mixing. Start by creaming butter and sugar until they’re well mixed. This step is key for a light, fluffy texture.
Then, add your pink food coloring. Use 2-8 drops of gel coloring for a vibrant pink. Beat in eggs one at a time, making sure each is fully mixed before adding the next.
The next step is tricky. Alternate adding dry ingredients and buttermilk mixture. This method prevents overmixing, which can make the cake tough. Aim for a smooth, thick batter with a beautiful pink color.
For the final touch, gently fold in any remaining flour with a spatula. This ensures a uniform mix without damaging the batter’s delicate structure. Your pink cake batter is now ready for baking!
Mastering the Food Coloring Process
Getting the perfect pink for your cake is an art. It needs precision and knowledge of coloring techniques. Whether using pink food coloring or natural options, knowing the process is crucial for a stunning cake.
Types of Pink Food Coloring
Gel food coloring is the best for vibrant pink cakes. It’s more concentrated than liquid, so you use less for intense colors. For a 9-inch cake, about 20 drops of gel per 25g of icing will give you a beautiful pink.
Achieving the Perfect Shade
Start with a small amount of pink food coloring and add more until you get the shade you want. The color might lighten when baked, so aim for a deeper tone in the batter. For a cake layer, you might need up to 40 drops of food color gel for a rich pink.
Natural Coloring Alternatives
For natural coloring, try beet powder or berry extracts. They can make lovely pink shades but might change the flavor a bit. Natural dyes last up to two weeks in the fridge, stored in an airtight container.
| Coloring Type | Shelf Life | Notes |
|---|---|---|
| Gel Food Coloring | Several months | Concentrated, requires less for vibrant colors |
| Natural (Water-based) | Up to 2 weeks | May spoil faster, requires refrigeration |
| Natural (Alcohol-based) | Several months | More vibrant colors, alcohol acts as preservative |
Refining your coloring techniques is the key to crafting the perfect pink cake. It will look stunning and taste great.
Baking Techniques and Tips
Mastering cake baking tips is key to achieving the perfect pink cake. Start by preheating your oven to 350°F (175°C). This oven temperature ensures even baking and helps create that signature velvet texture.
For optimal results, opt for three 6-inch pans to build your layered creation. Grease each pan thoroughly with melted butter or pan coating. Properly greasing the pans ensures effortless removal once baked.
To control rising, place a metal baking sheet over the pans during the first 10 minutes of baking time. Then, reduce the oven temperature to 320°F (160°C) for the final 7 minutes of baking. This two-step process yields a light, golden-brown cake with the ideal texture.
Keep a close eye on your cake as baking time nears its end. Test for doneness by inserting a toothpick into the center—it should emerge with only a few moist crumbs. Remember, overbaking can lead to a dry cake, so start checking a few minutes before the suggested time.
Once baked, let your cakes cool in the pans for about 5 minutes. Once baked, transfer the cakes to a wire rack to cool completely before frosting. This cooling period is crucial for maintaining the cake’s structure and ensuring your frosting doesn’t melt.
| Baking Stage | Temperature | Time |
|---|---|---|
| Initial Bake | 350°F (175°C) | 10 minutes |
| Final Bake | 320°F (160°C) | 7 minutes |
By following these cake baking tips and paying attention to oven temperature and baking time, you’ll create a perfectly pink, moist, and delicious cake every time.
Creating the Ideal Frosting
The perfect frosting can make your pink cake truly stand out. Let’s look at some popular options and techniques to get that perfect finish.
Cream Cheese Frosting Options
Cream cheese frosting is a classic for pink cakes. Start by beating softened cream cheese with butter until it’s smooth. Then, add powdered sugar and vanilla for a creamy, tangy frosting. This frosting goes well with many cake flavors and adds a rich texture.
Swiss Meringue Buttercream Method
For a silky frosting, try Swiss meringue buttercream. First, heat egg whites and sugar, then whip them. Add butter to make a light, less sweet frosting. It’s great for detailed designs because it holds its shape well.
Frosting Consistency Tips
Getting the right consistency is key for great frosting. Adjust the liquid or sugar to change the texture. For a firmer frosting, chill it before using. Make sure your cake is cool before frosting to avoid melting.
| Frosting Type | Texture | Sweetness | Best For |
|---|---|---|---|
| Cream Cheese | Creamy | Medium | Rustic designs |
| Swiss Meringue | Silky | Low | Smooth finishes |
Remember, practice is key for mastering frosting techniques. Try different frostings and methods to find your unique style for stunning pink cakes.
Decorating Your Pink Cake

Cake decorating turns a simple pink cake into a stunning masterpiece. With the right frosting and designs, you can make a showstopper for any event. Let’s look at some basic and advanced methods to make your cake special.
Basic Frosting Techniques
Begin with a crumb coat, a thin layer of frosting to seal crumbs. For a flawless finish, chill the cake thoroughly before adding the final frosting layer. Use a bench scraper or offset spatula for a smooth finish. Add texture with a spatula or spoon for a rustic look. These simple steps are key to beautiful pink cake designs.
Advanced Decoration Methods
Advance your skills with piping techniques. Make rosettes, swirls, or patterns with different tips. Try an ombre effect for a striking look. Pink geode designs are unique and eye-catching for bold statements.
Adding Final Touches
Add final touches that match the occasion. Sprinkles are great for birthday cakes, while edible flowers are perfect for bridal showers. Pink macarons add elegance to afternoon tea cakes. A pink balloon cake design is whimsical for baby showers or kids’ parties.
| Pink Cake Design | Suitable Occasion | Key Features |
|---|---|---|
| Pink Ombré Layer Cake | Weddings, Graduations | Gradual color transition, Elegant appearance |
| Pink Confetti Cake | Birthdays, Baby Showers | Colorful sprinkles, Festive look |
| Pink Geode Cake | Galas, Milestone Birthdays | Crystal-like design, Unique appearance |
Cake decorating is all about creativity. Whether you’re new or experienced, these designs and techniques will make memorable desserts for any celebration.
Conclusion
Learning to make the perfect pink cake is a fun journey. It mixes creativity with careful steps. You’ll need quality ingredients and the right baking techniques to get it just right.
Each step is important for making a beautiful dessert. Now, you know how to get that soft, pink cake texture and color.
Baking is like art and science mixed together. The Hershey’s Black Magic Cake is a great starting point. The result is a cake that’s irresistibly soft and moist, with a delightful chocolate-coffee flavor that’s truly special.
It’s perfect for trying out pink frostings. You can make your desserts look amazing, whether you want a soft pink or a bright one.
When you start baking pink cakes, enjoy the decorating part too. Get creative with frosting and decorations. With time and practice, you’ll make stunning cakes that are both beautiful and tasty.
FAQ
What is pink velvet cake?
Pink velvet cake is a moist dessert with a light cocoa taste. It’s made with buttermilk and vinegar. The cake is soft and has a pretty pink color, great for celebrations.
How is pink velvet cake different from red velvet cake?
Pink velvet cake is a twist on red velvet, with less cocoa and pink food coloring. It tastes more like vanilla than chocolate. It’s seen as the fancy cousin of red velvet.
What are the key ingredients for a pink velvet cake?
The main ingredients are cake flour, unsweetened cocoa powder, and baking powder. You also need baking soda, kosher salt, and unsalted butter. Plus, granulated sugar, pink food coloring, eggs, buttermilk, white vinegar, and vanilla extract.
Why is cake flour preferred for pink velvet cake?
Cake flour makes the cake light and tender. This gives it a velvety texture.
What tools are essential for baking a pink velvet cake?
You’ll need 8-inch round cake pans and parchment paper. A stand mixer or hand mixer, mixing bowls, and a fine mesh sifter are also key. For decorating, use piping bags and tips.
How do you achieve the perfect pink color in the cake?
Use gel food coloring for a vibrant pink. Start with a little and add more until you get the right shade.
Are there natural alternatives to pink food coloring?
Yes, some use beet powder as a natural option. But it might change the cake’s flavor a bit.
What’s the ideal baking temperature for a pink velvet cake?
Bake at 350°F (175°C). Rotate the pans halfway for even baking.
What type of frosting works best for pink velvet cake?
Cream cheese frosting is a top choice. Swiss meringue buttercream is also great, for its smooth texture.
How can I decorate my pink velvet cake?
First, do a crumb coat, then add more frosting. Use a spatula for texture or piping for designs. Add sprinkles or edible flowers for a finish.
How do I make a pink ombre cake?
For an ombre, use different pink frosting shades. Start with the darkest at the bottom and get lighter up. Blend the colors for a smooth look.
What’s the best way to store a pink velvet cake?
Keep the cake in an airtight container at room temperature for 2 days. Or in the fridge for 5 days. Freeze for up to 3 months.

